
Integrating the Engineering Design Process and Challenge-Based Learning in STEM
As a high school math teacher, I am always looking for ways to integrate real-world applications and projects into my lessons. Five years ago, I participated in a program at the University of Cincinnati for math and science teachers called Research Experience for Teachers (RET).
In this program, I learned to integrate Challenge-Based Learning (CBL) and the Engineering Design Process (EDP) into my lessons.
What is Challenge-Based Learning?
In traditional learning, the teacher tells students what to learn. The teacher demonstrates how to solve problems, and students follow the process to solve assigned problems.
In CBL, students identify a problem (challenge) to solve. They identify what they need to know to solve the problem. They learn and immediately apply the classroom content as they work on a solution. Students learn about engineering and follow the Engineering Design Process as they work toward a solution.
I have created and implemented several EDP/CBL projects in my math classes, from topics that range from solar power to sticky note holders to sound waves. Student engagement and learning for these projects has been high, and years later students still fondly remember the projects. In addition, they learn about engineering careers and the societal impact of addressing engineering challenges.
Exploring the Engineering Design Process

Let’s walk through the seven steps of the Engineering Design Process to understand what happens in each stage of the project.
1. Identify & Define a Problem
- The Big Idea. Before class, I determine the “Big Idea” of the project. Making an arrangement of solar panels? The Big Idea could be “Solar Power.” Designing speakers? The Big Idea could be “Sound.”
- The Hook. I start class with a video, a series of pictures, a podcast – something that “hooks” students into the “Big Idea” of the project.
- Student Engagement. At this point, I give students the floor, asking them to share what they know about the “Big Idea.” They generate “essential questions” about the Big Idea, which clarify what they don’t know or would like to know more about. I coach them on how good essential questions cannot be answered with yes or no and often require research to answer. The class agrees on one essential question that is of interest to them.
- Community Impact. I ask students to brainstorm potential societal impacts (locally or globally) that are related from the “Big Idea”.
- The Challenge. I present the class with a challenge that stems from their essential question. Of course, I have prepared the challenge ahead of time. But by linking their agreed upon essential question to a challenge, I have ensured that students have buy-in to what they are about to work on.
- Next Steps for Students. I ask students to generate a list of guiding questions, which detail what they think they need to know to be successful at the given challenge. These guiding questions will determine what the students learn in the next stage
This stage takes 1-2 days to complete.

2. Gather Information

In this stage, students get answers to their guiding questions. They learn the concepts that they asked to learn in order to solve the problem. The math content is already part of my curriculum, but introducing it in this way empowers students to work to understand the material. Learning can occur in many forms: traditional classroom, videos, activities, labs, guest speakers, field trips, etc.
The length of this stage varies. I typically plan 2-4 days for this stage.
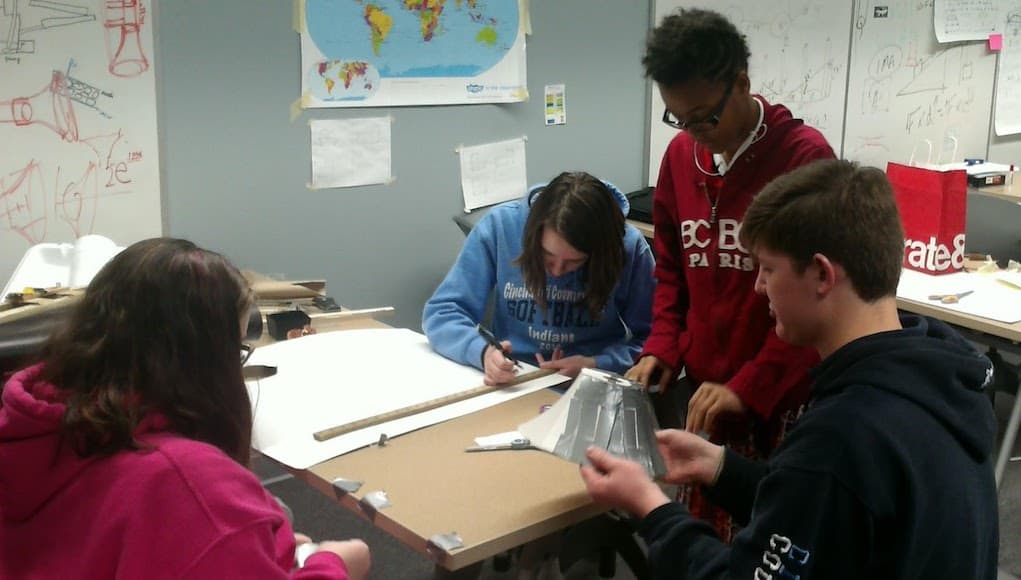
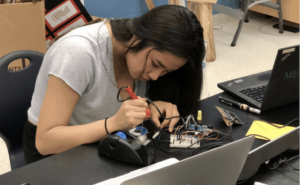
3. Identify Possible Solutions, Create a Prototype
Once students have answers to their guiding questions, they begin identifying potential solutions to the challenge and creating prototypes. To ensure all group members participate in this process, I do not allow building to be done outside of school. We build in the classroom or in our school makerspace. I provide common building supplies (glue, cardboard, scissors, etc.) and let student bring in other supplies from home.

For time planning purposes, this stage directly overlaps with the next stage.
4. Evaluate or Test, Refine
This stage is crucial to the success of the project. It is imperative to build in enough classroom time to allow students many iterations of testing and refining their prototype or solution.

I plan at least four days for the identify solutions/create/evaluate/test/revise process, but will extend time as needed.
5. Communicate
Each group presents their solution to the challenge to an audience of classmates, teachers, administrators, and other interested groups. As students present, I grade each project with a rubric. My rubric is focused on how well groups follow directions, meet project requirements, explain their tests and revisions, and explain the math content behind their design. Presentations typically take one class period.
In my classroom, these projects run around three weeks, so I only introduce one per school year. However, the autonomy given to students during this time directly results in increased motivation and engagement and a deeper level of understanding of the subject matter underlying the project. These projects give all of my students the opportunity to shine.
If you are interested in running a math or science EDP/CBL project for any grade level, search the instructional units created by teachers here.
If you would like to learn more about creating EDP/CBL lessons, an online PD course has been created for teachers. Contact [email protected] for more information.
For more, see:
- The Purposes of High-Quality PBL
- Does Your Teaching Have the Four Qualities of High-Quality PBL?
- What Makes High-Quality PBL?
Stay in-the-know with all things EdTech and innovations in learning by signing up to receive the weekly Smart Update.


Mark Nichols
For more information about CBL visit challengebasedlearning.org. CBL is used around the world to help learners learn while making a difference. Follow the conversation about CBL on Twitter @CBLWorld.
Julia Brim
Thanks, all I needed was the engineering process!
Jeväün Hutchinson
Thanks for the information; this page gave me all the necessary details I wanted.
Muhammad Firdaus
I would like to inform that I used the picture of the engineering design process and referenced this website in my references
Corinne Beach
Like your engineering design process. Used in a presentation w teachers