Creating a Makerspace That Works
Those who are new to managing a school makerspace or are launching a makerspace likely have a list of questions about best practices for setting up, maintaining, and working in a makerspace. As a first-year Makerspace Coordinator, this year has been a whirlwind of learning, experimenting, and adapting as I manage the space and work to increase student and faculty usage. In this post, I reflect on what I’ve learned through research, tours, conversations, and hands-on experience.
Make the Space Inviting
Look at your makerspace through the eyes of someone who has never seen it. Is your space inviting? Organized? Clean? A coat of paint or some colorful posters go a long way in making the room an inspirational, comfortable, and inviting place for all students to work and hang out.
Organization Matters
Supplies and tools can be organized neatly with accessories including pegboards, rolling tool carts, clear plastic bins, storage drawers, cabinets, or bookcases. Label tools and supplies so students know exactly where they belong. It can be a challenge to manage the storage of supplies, including extras. I store some items under tables, but that may not be an option in every space.
If tools or machines are not in view, they will be used less often. Keep sewing machines, vinyl cutters, 3D printers, desktop milling machines, and other movable equipment on display and ready to use.
It is impossible for one person to keep a makerspace clean. Students need to be reminded—and held accountable—to clean up their work areas. Signs are useful to remind students to leave the space cleaner than they found it, as are verbal reminders before work time ends.
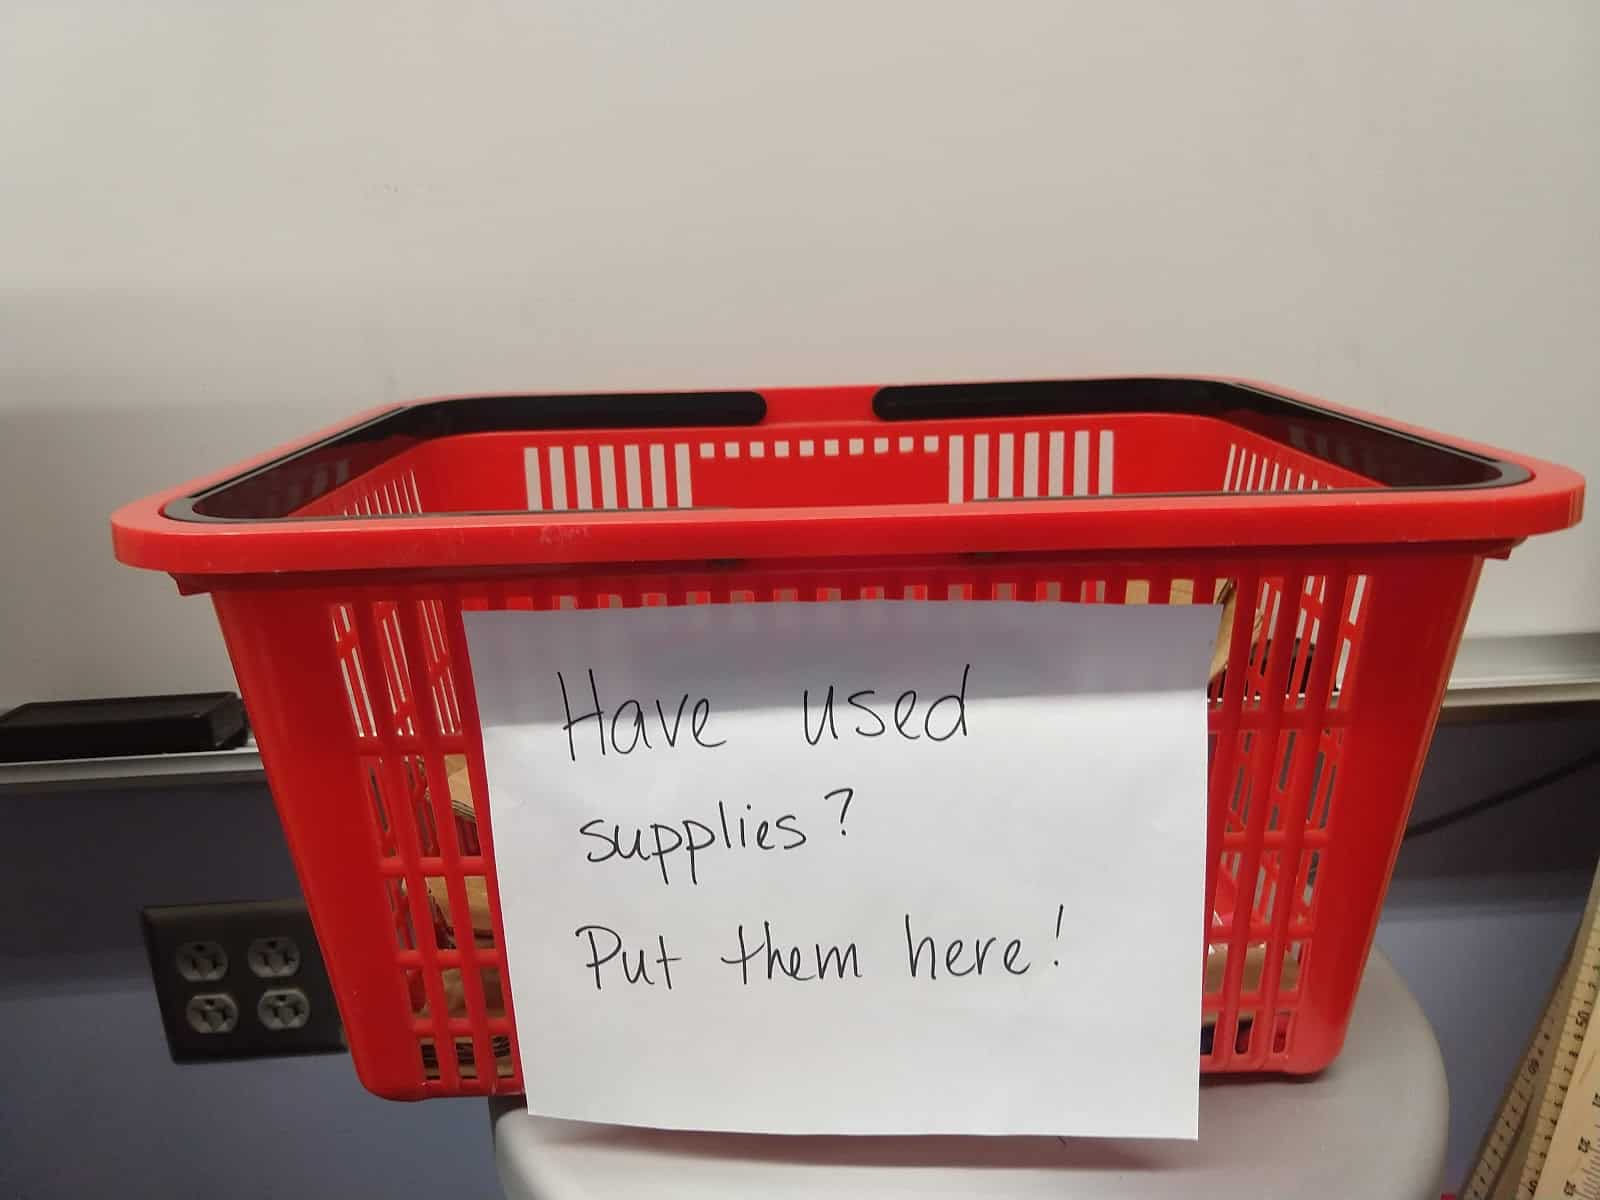
To prevent students from throwing away usable supplies, have a clearly marked bin where they can put supplies that may still be useful. Periodically go through the bin and return supplies that can be reused and recycle or throw away those that cannot.
Safety First
Every makerspace needs safety glasses, first aid kits, and a fire extinguisher or fire blanket. Depending on the noise level of the equipment in the room, hearing protection may be necessary. When in doubt, err on the side of caution. It can be a challenge to monitor a room full of students to make sure they are cutting the right material with the proper tool or using tools safely, especially while others seek instruction. Because of this, students need basic safety training before they begin working. Some makerspaces use credentialing systems to track the level of training that each user has received.
Watch How Students Use the Space and Make Adjustments
What tools and materials should you have on hand? There are some obvious supplies, such as scissors, glue, tape, rulers, cardboard, and paper. But don’t worry about having the perfect array of supplies from the beginning; the tools and supplies in a makerspace can evolve. For example, after watching students struggle to cut cardboard, I purchased cardboard-cutting scissors. Problem solved.
Have Plenty of Basic Tools and Supplies
If a class is working in the makerspace on the same project, students will get frustrated if they have to wait too long for scissors, rulers, tape, or glue. In addition, one class project can make consumable supplies disappear quickly. Just when I think I have enough cardboard and foam sheets, a few classes will use the makerspace and wipe out my supplies.
It’s usually easy to find more cardboard on short notice, but restocking other consumable supplies might require an after-school trip to the store. If you ask for donations from your school community or buy in bulk, be prepared to store what you receive.
Have a Plan for Project Storage
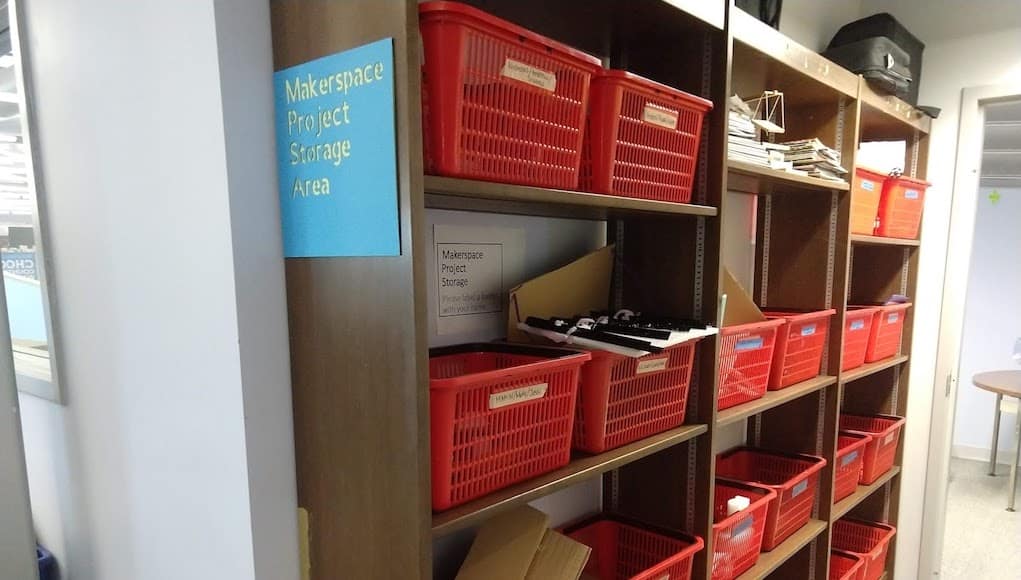
Students rarely finish makerspace projects in one visit. If your room is not large enough to store student projects, find somewhere nearby that will work. For example, I turned bookshelves outside our makerspace into a makerspace storage area by placing shopping baskets on the shelves. If necessary, we store multiple student projects in one basket.
Makers Need Space to Brainstorm That Is Separate From Work Areas
To make more space for students who are in the active building stage, I sometimes send other students who are in the brainstorming stage to the library, which is close to the makerspace. If your room is large enough, think about designating part of your room for brainstorming.
Remind Students and Faculty That Making Takes Time
Only one project can be fabricated at a time on a given machine. Explain this to both students and faculty, who may assume that their project can be fabricated right away. Set realistic expectations about how long it could take to 3D print, cut, or mill a design. When teachers integrate making into a lesson or project, help them build extra time into their project timeline. When I run making projects, I typically plan at least a week-long break in the project to allow student designs to be fabricated, revised, and re-fabricated.
Make Time to Learn How to Use the Equipment and Create Digital Designs
As simple as it sounds, it bears stating: start with simple projects and make sure you read the manufacturer’s instructions for the equipment. Blogs and videos about making are great sources of ideas and help. Embrace and share your mistakes and failed projects—sometimes they help you learn the most.
Students often want to use a photo, screenshot or drawing to make a project. Learn how your equipment handles designs in easy-to-create formats such as PDF, JPEG, or PNG. For example, a student making a Cricut project can draw a design on paper, take a picture of the design, and upload the picture to the Cricut software. If you have experience with the equipment, you can better help students navigate the process.
In some cases, the most challenging or time-consuming part of the project is the creation of the digital design. Many videos about making will skip over the process used to create the design. Some basic skills that are helpful for digital design include removing backgrounds from images, working with SVG files, and using layers to specify cutting, scoring, or engraving. Tinkercad is easy-to-use, free software for both 3D printing and 2D SVG files. I felt more comfortable troubleshooting digital design issues after working through tutorials on the Inkscape vector graphics editing software. You don’t need to be an expert, but it helps to be able to quickly find help or tutorials should you need them.
Makerspace Resources
Looking for more information? Some of my favorite resources include:
- The Maker Education Initiative provides resources and professional development on topics including assessing making, tools, and materials and safety. They also sponsor a yearly conference of K-12 makers called Maker Ed Convening.
- MIT’s Edgerton Center provides many useful resources about making and makerspaces.
- The Higher Education Makerspace Initiative sponsors a yearly conference called International Symposium on Academic Makerspaces.
- International Journal of Academic Makerspaces and Making posts articles with best practices in academic making online.
For more, see:
- 4 Ways to Ignite Your School’s Makerspace
- Makerspaces: Engaging Students Through Creativity and Coding
- School Library Makerspaces: the Bold, the Brave, and the Uninitiated
Stay in-the-know with innovations in learning by signing up for the weekly Smart Update.





Timo @ Edquip
Great article!
I think another good practise when setting up a makerspace, is to involve many different departments into the planning phase. Such an inclusive approach will externalize the needs and benefits of other departments on the campus, this in thurn can help to increase both pooled funding and higher utilization of the makerspace.
Keep up the good work!